Good progress last night.

Removed the water pump from the clutch cover, and opened it up (I'd disturbed two of the orings while removing the clutch cover, and I had all the spares anyway, so thought I might as well). Be careful here! The two screws holding it together are tight, and JIS - use an impact tool to loosen these.
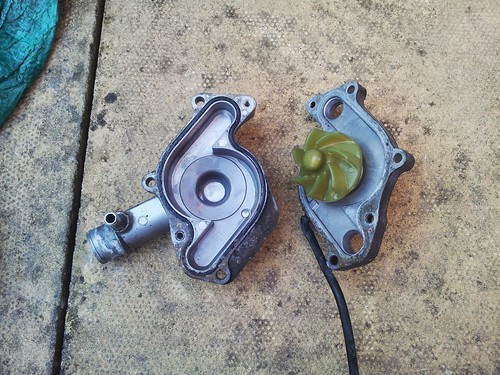
Mucky eh? Looks like I had a tiny coolant leak through one of the o-rings too.
Don't do this bit if you don't have to! This seal was a b*stard to remove. It's an incredibly tight fit, there's nowhere to pry it out, and it's also glued in. I destroyed mine on the way out, even with a good application of heat!
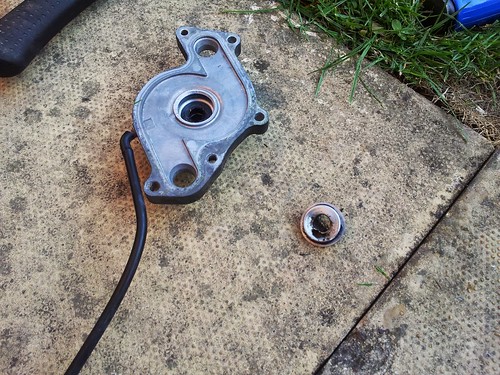
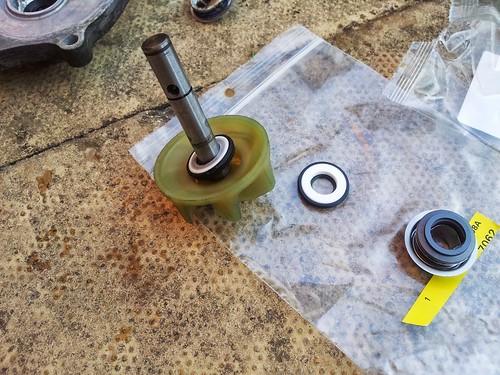
Note: if you do need to change this part, the spare comes in two halves. One half fits in the hole, but it took me a little while to find where the other half went:
Clutch cover gasket on!

Clutch cover temporarily fitted - I have some new shiny bolts to fit after painting.
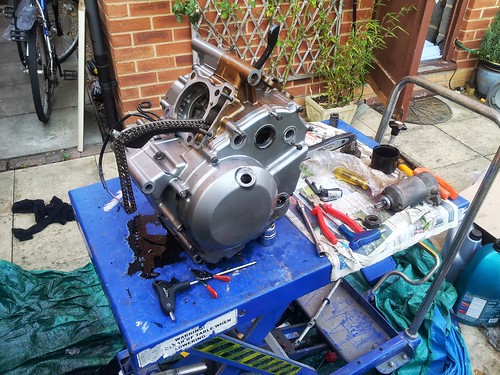
and on the other side, here's the generator cover fitted

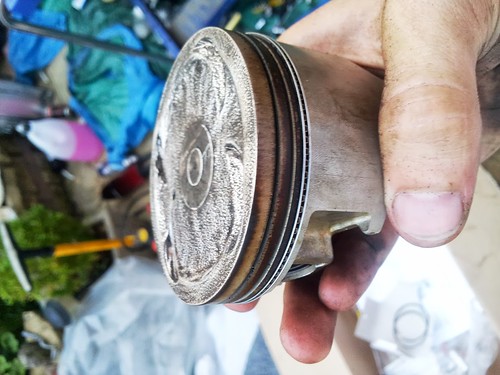
Here's a cleaned piston, with the rings being removed
and here they both are fitted with new rings! This step really is quite simple. Just make sure you do one at a time - and refer to the other to make sure you get the rings right. The manual isn't particularly clear which goes where, and only one is marked with a 'T' on top. I was concerned that I'd got the wrong bits, but the old rings matched my new ones. Basically, from the bottom upwards, oil ring (consisting of side ring - spacer - side ring), then the second ring (marked with a 'T' on the top side), then the first right (groove on top). Please double check this on your engine first though!

So, who spotted my "deliberate" mistake?
