Hi Folks,
So my afternoon of spraying is complete and I am now letting everything cook off until tomorrow. I seriously hope I am not trying to teach you good people to suck eggs, but here are a few things I learned.
First, the most important thing I learned was the criticality of temperature when spraying paint. I live on the East Coast of Scotland and 'warm' here can still be pretty chilly for most visitors from the South. In the past I have overlooked this to my cost when trying to spray. Paint does not like to be cold. That includes cold in the can, spraying onto cold metal or simply spraying in cold conditions. I realised this when I though back to times when I have seen work being done in spray booths. Apart from containment and dust limiting the other reason this happens is to maintain the temperature of the spraying environment.
Caveat: I am an amateur at this and am perfectly happy for experts to correct me in this observation, so long as it helps me do a better job next time.
So, I have developed a method that seems to work quite well,
but must be applied with the usual provisos for health and safety with regards to working conditions.
First I get a can of this stuff.

Next I cleaned off the area with paraffin (or an appropriate degreaser) to get rid of any in-grained gunk.
Now I use a Dremel
http://www.dremeleurope.com/gb/en/home/home.html with a wire brush attachment to clear off the loose paint and rush. If you only clean off the exact area where corrosion has taken place then (once you have finished spraying) you may be left with a visible line where the new paint joins the existing paint job (I got this when respraying the bottom and inside of the swing arm. I didn't want to extend the painted area more than necessary and wanted to limit the time I had this area exposed - because it would have extended the total time to complete).
Finally I pinched some of my better half's nail polish remover and do a final wipe of the area. It's now prepared for the paint job.
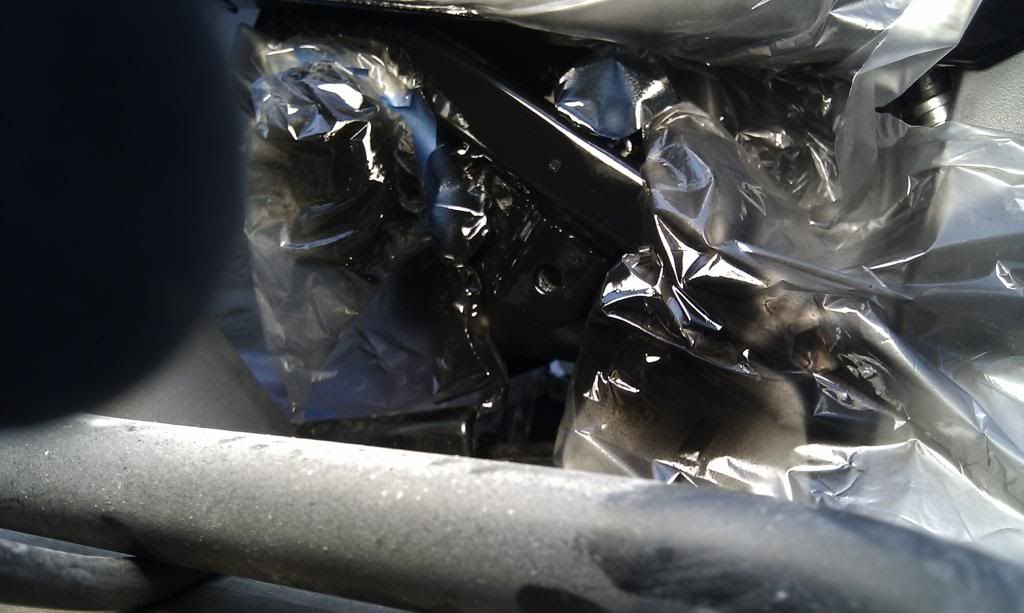
Before starting to spray I decided whether I needed to protect the surrounding area from overspray. This wasn't necessary in the case of the swingarm, but was in the case of the Pillion Rest rust spots. So I cut up an old plastic bag and used masking tape to hold it all in place.
You remember my earlier comments with regards to temperature? The Hammerite tin recommends leaving it at room temperature for two hours prior to use, I didn't want to waste that time so I wrapped it in a thin cloth and left it on the radiator for a while. Then I shook it like it was experiencing an earthquake for about a minute.
It was going to be a little difficult to wedge my bike onto a radiator so I had to think up something a little different. This is where my warning about health and safety comes into play.
I have a halogen lamp that throws out a ferocious amount of heat when turned on. So much so that I have to be extremely careful when working with it (
it would be very easy to get burnt or set something on fire). So what we are after here is proximity heat rather than direct contact heat (that would be very bad).
The idea is to set it up so that it casts heat in the direction of the area you are spraying. AGAIN, do not place it near anything that might melt or can catch fire (
also remember that you have been using paraffin and nail varnish remover so clear that all away first)
Here's what it looked like today.
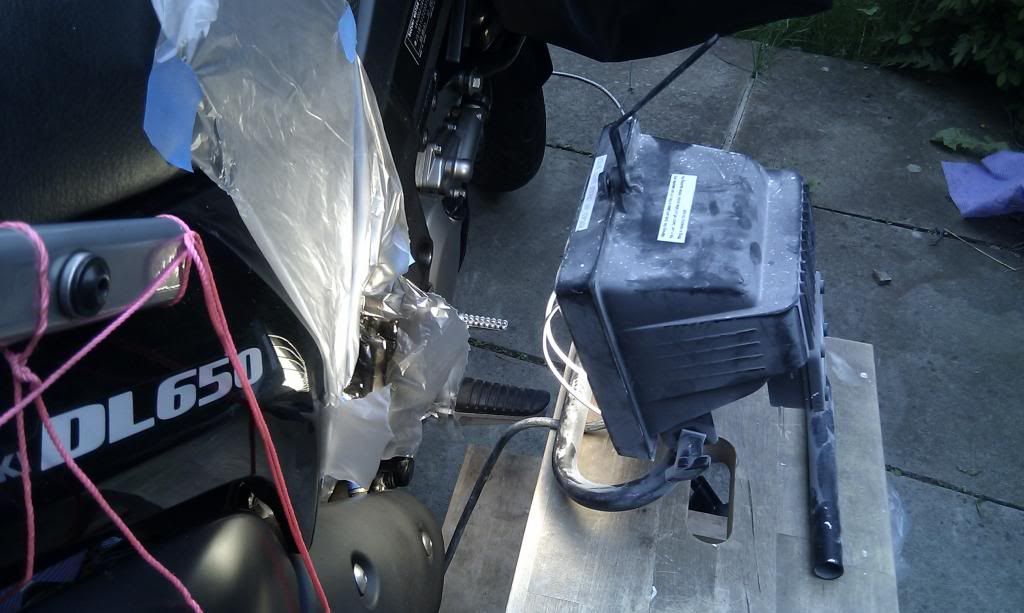
Using this approach I can pretty much guarantee that the spray paint will dry as expected.
Earlier I posted some images of the rust spots before painting, here are a few after using the method above and after each area has had 4 coats (the swingarm actually got closer to 6 coats).
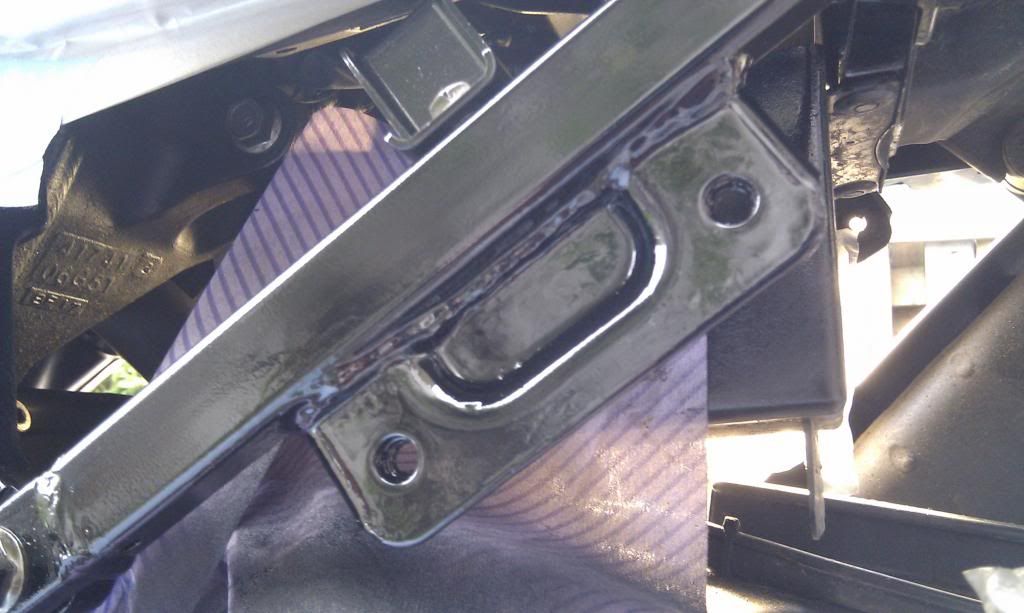
The swingarm rust repair, prior to this there was significant paint loss from the inside area as well as paint bubbling and corrosion from under the swingarm;
.. and from the inside area. (The white spots are reflections caused by an overlap with the original paintjob );
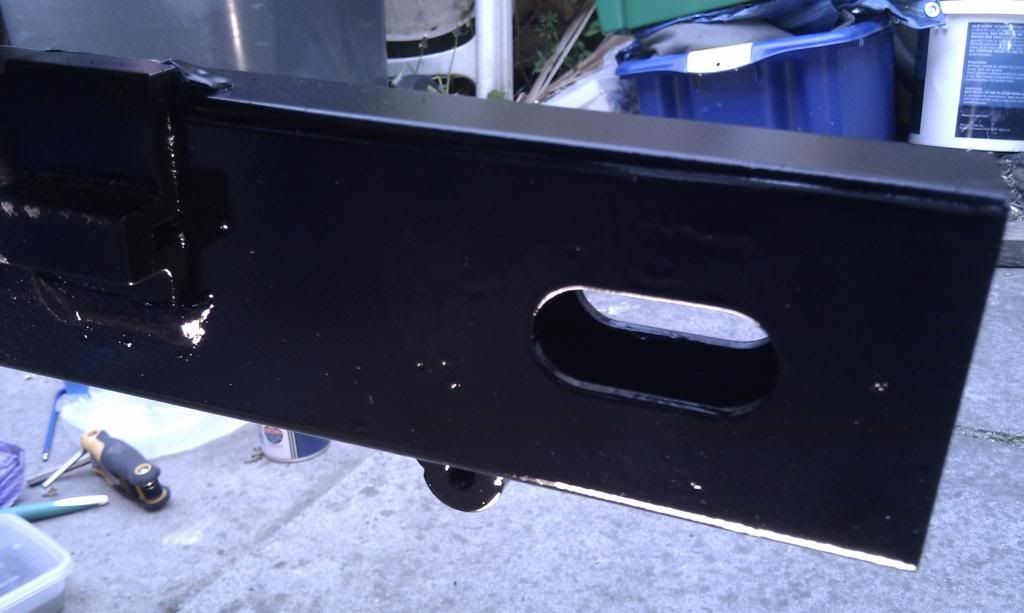
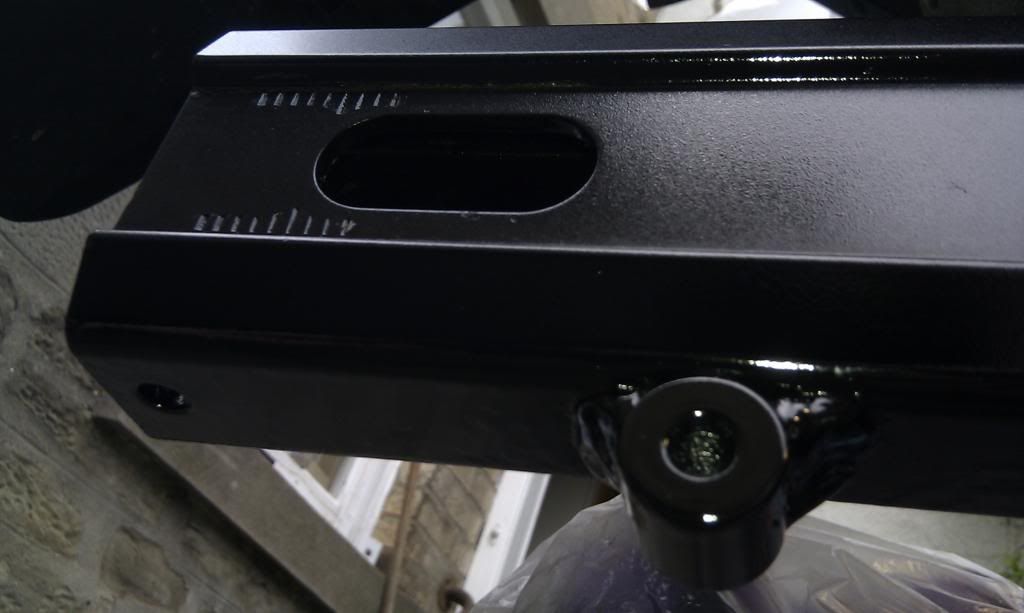
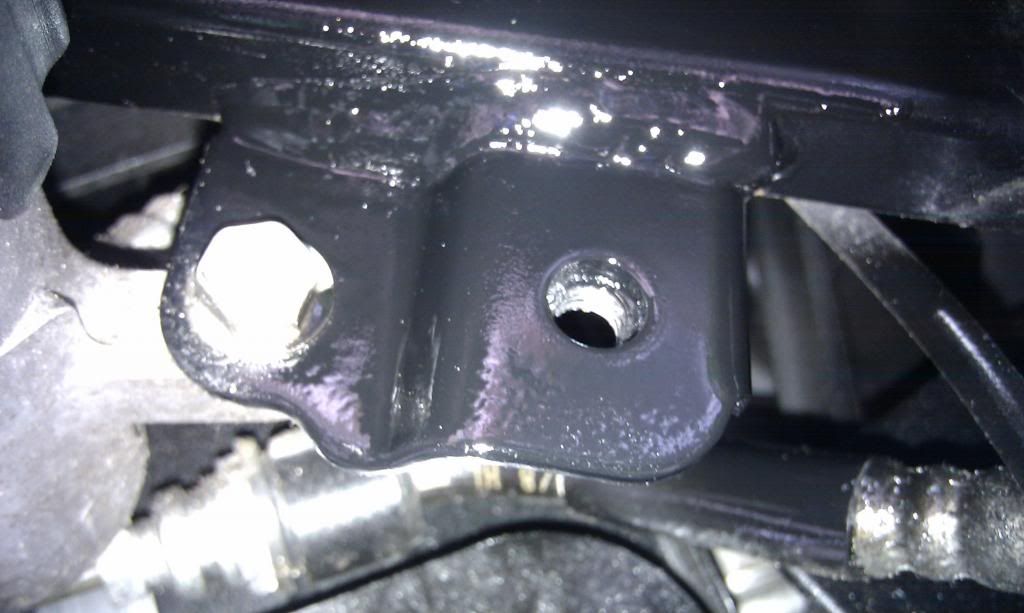
Next, the Pillion Footrests (both sides required work);
Nearside Pillion Footrest:
Offiside Pillion Footrest:
Masking pattern to avoid overspray on this side is a little trickier.
... and the completed respray.
A further note about using spray paint.
I have found that the most important coat is the first, it is referred to in other articles as the 'tack coat'. This is because you don't let it dry completely before you apply the subsequent coat - it needs to be 'tacky' (the Hammerite Spray is designed to be sprayed "wet on wet"). By spraying your next coat while the 'tack coat' is still 'tacky' you give the next coat something to adhere to.
Authors Note: I am very aware that I have not explained this very well. Please provide a better explanation if you have one?Also, under no circumstances be tempted to "pour it on" with these earlier coats. They are going to look awful and not cover very well at all. Don't panic, it's meant to look like this and it is the accumulation of many coats that will provide the coverage you are looking for. If you spray a coat and think you have missed a bit, do not be tempted to just "go over it again with a lighter spray", the accumulation of wet paint will cause pooling and that will lead to running paint, the worse result possible and definitely NOT what you are looking for. Let the paint dry for about 20 minutes and then get it on the next coat.
So, as before, I seriously hope I am not telling you good people something you already know, my hope here is that I can help out others who would like to be able to do this for themselves but are a little nervous at the prospect.
Des

