OK, so here goes the writeup. can't really say its a How To, cos there is no straight forward way of doing this. Also please bear in mind, once you start this conversion, there is no turning back, and you'll see what I mean as I go. Ill try to be as descriptive as poss.
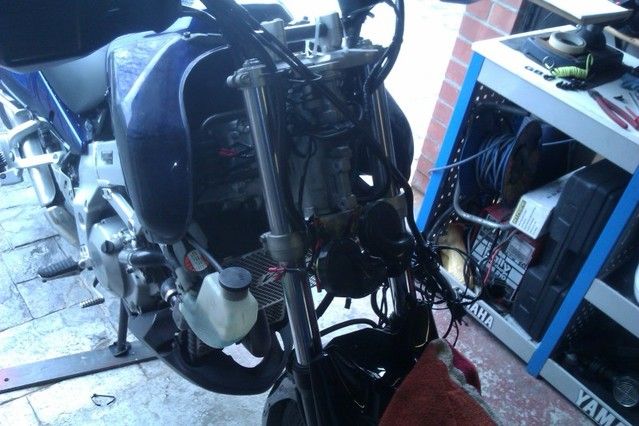
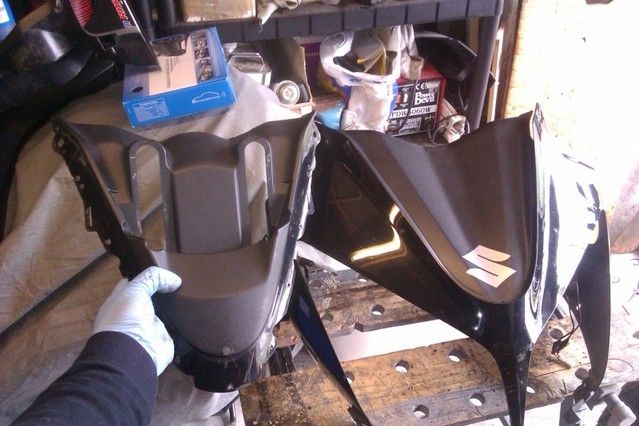
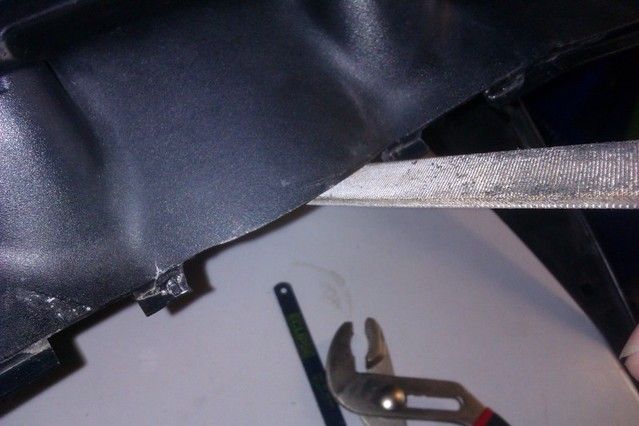
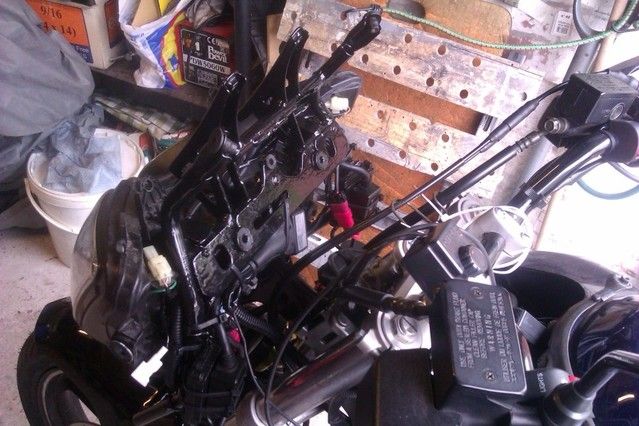
First up, deconstruction of the front end. So heres the dash surround removed, the side coweling and front lower cover all removed as 1 piece, you can split up if you like.
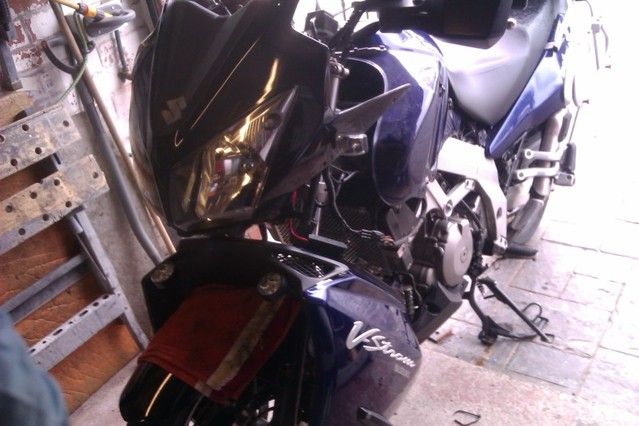
The part we need is the top cowling, the V bit behind the screen as this is different on K4 onwards. The top cowling left and right comes off as one piece from the headlight. The indicators, speedo, headlight were also removed along the way.
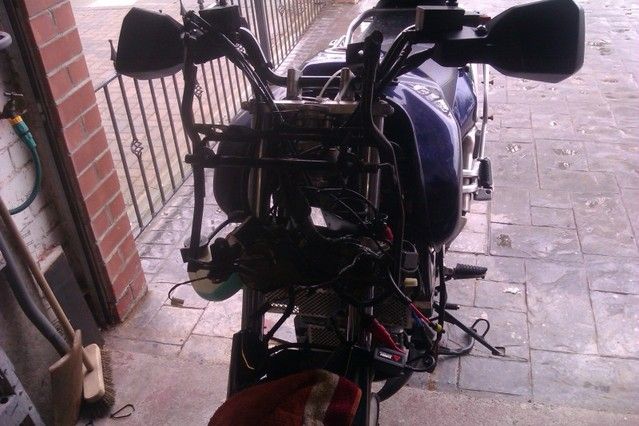
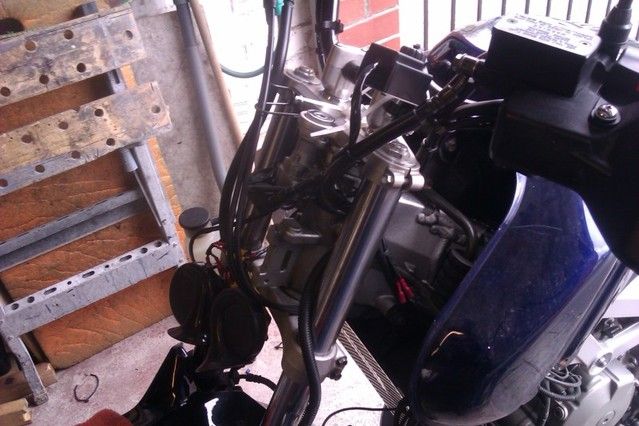
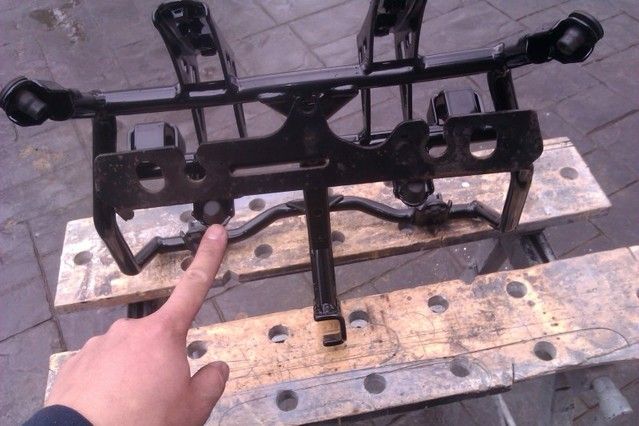
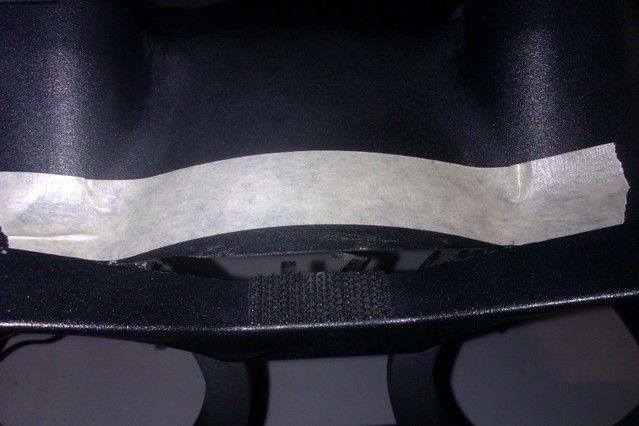
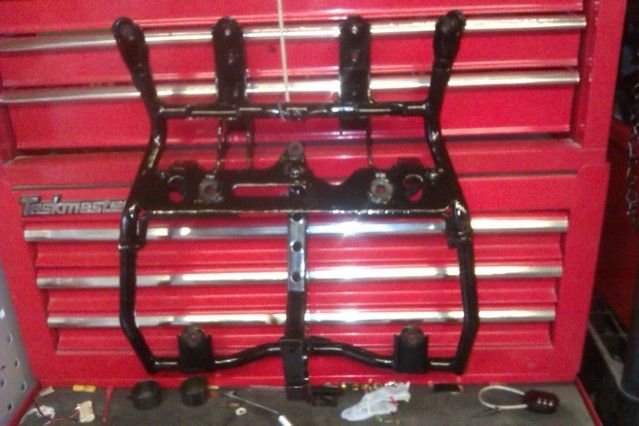
Next the front end support frame has to be removed, to do this, you need to disconnect all the harnesses from it. Then is just 2 bolts holding it onto the neck.
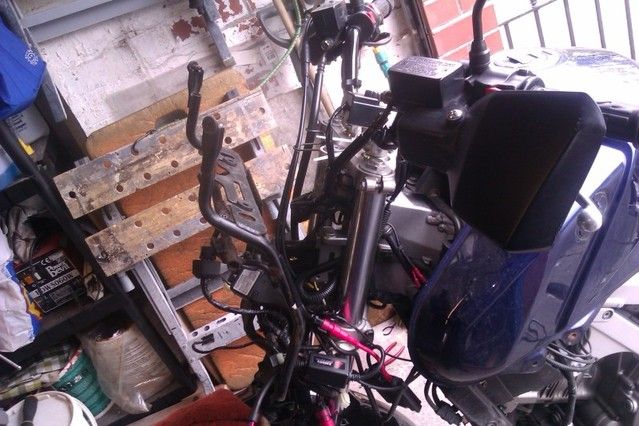
Heres the front end completely gone!
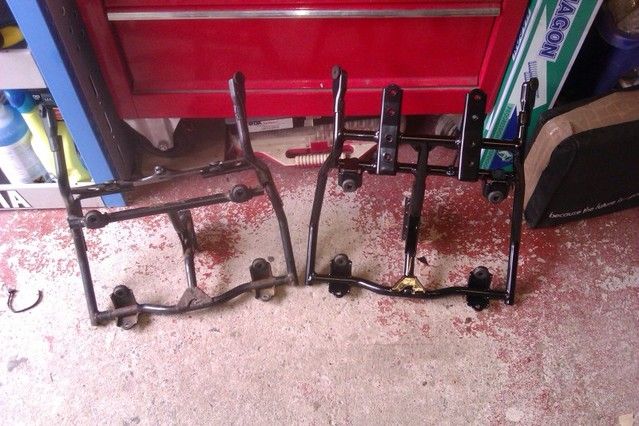
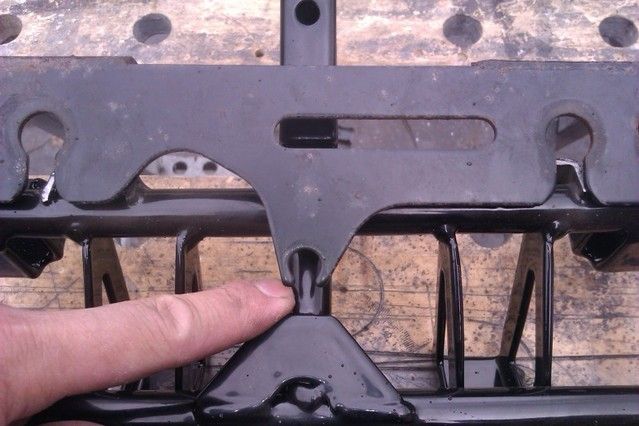
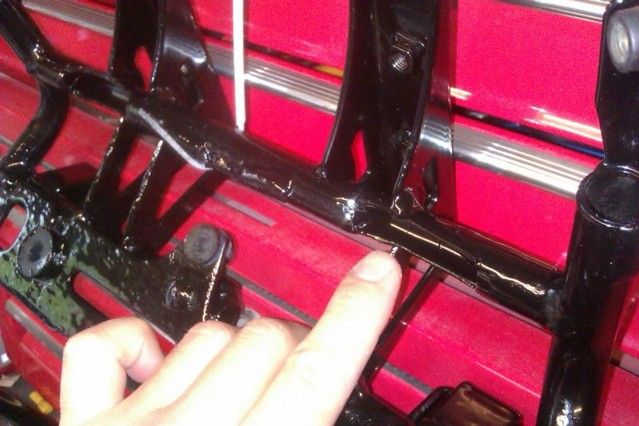
Next I compared both frames and noticed several differences. Some of the metal work like the back plate which the K3 dash mounts onto isn't there. So to rectify this, I decided to cut it off the old, and attach it to the new. This can be seen in the following series of pics.
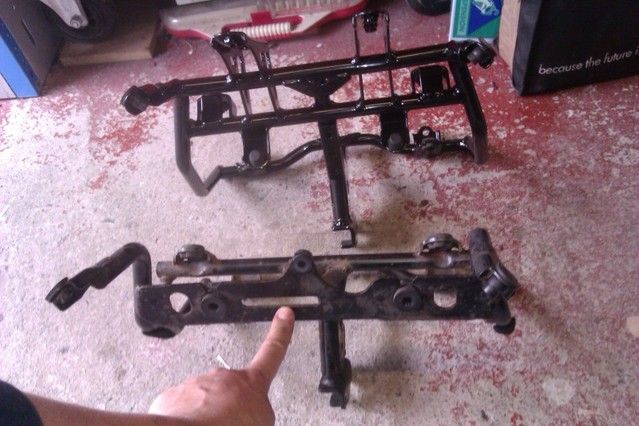
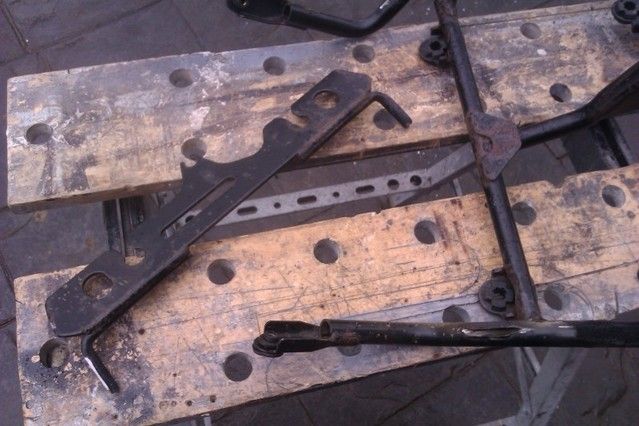
Using screws and hose clips, I managed to get it secured and refitted onto the bike at the position I thought was accurate.
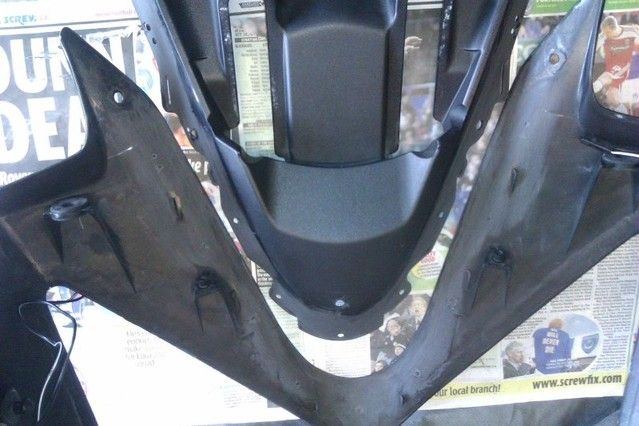
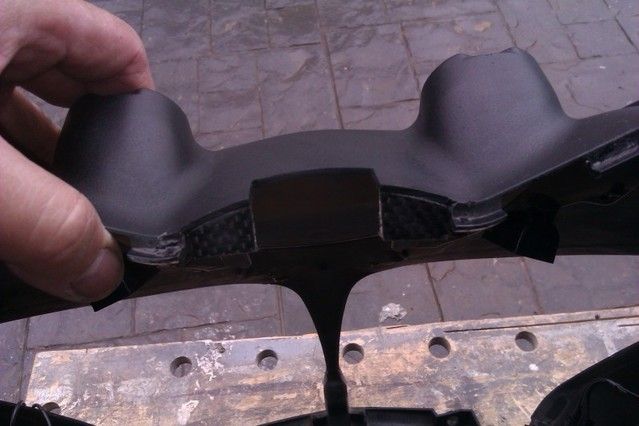
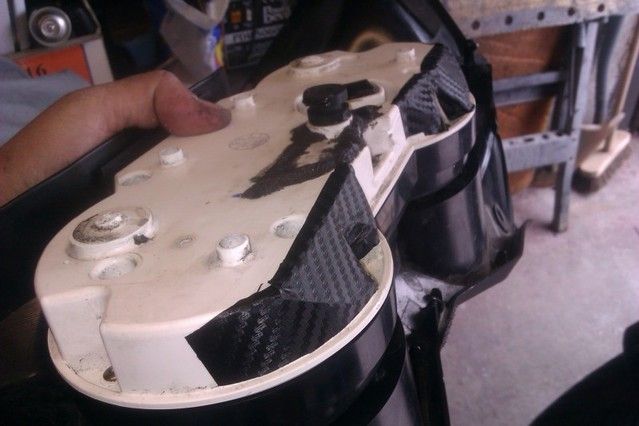
Next I turned my attention to the cowl. Heres the 2 pieces compared. This piece needs to be changed in order for the new cowl to cover the new screen mounting points.
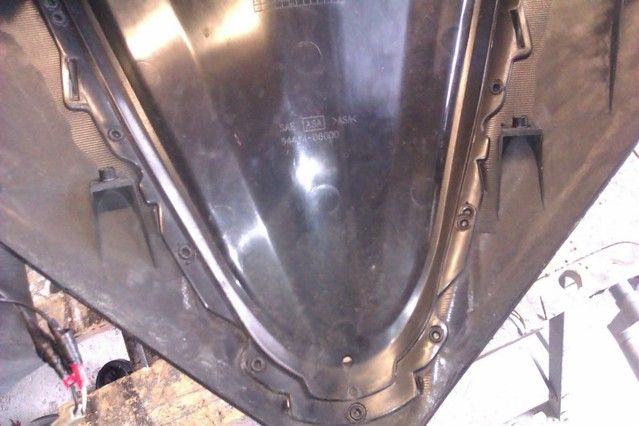
On the reverse of the cowl, you see that the centre section is held in by plastic welds.
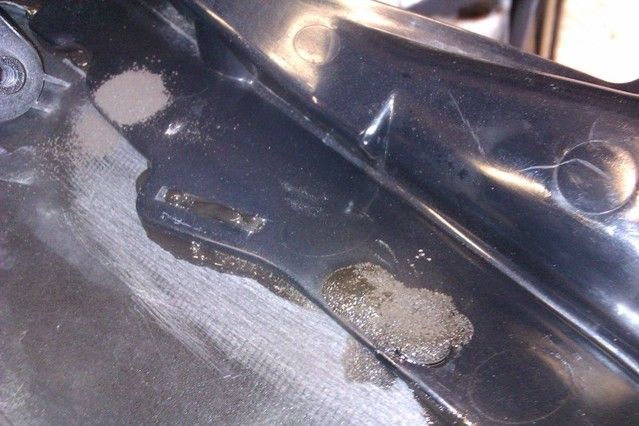
These can simple be drilled out using s 8mm drill bit. I also drilled out the holes on the new cowl to match.
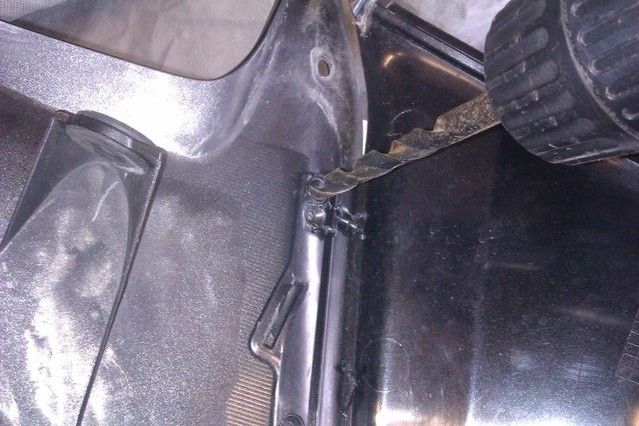
Once drilled, the 2 just separate apart.
To affix the new piece, I used a combination of PU Seam sealer and also some clever stuff called Q-Bond & plastic powder.
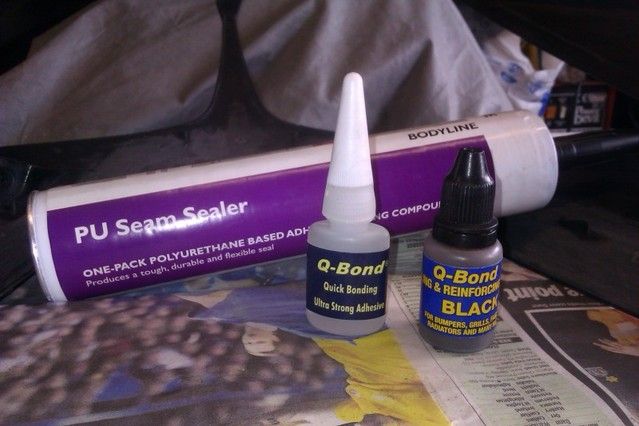
First I placed a few spots of sealer around the edge before I remated the new part.
Next on the underside, where I had drilled out the holes, I simple filled them with a little power and dropped in a touch of Q-Bond superglue to set the power instantly into a solid plastic weld. The combination of the 2 holds it solid.
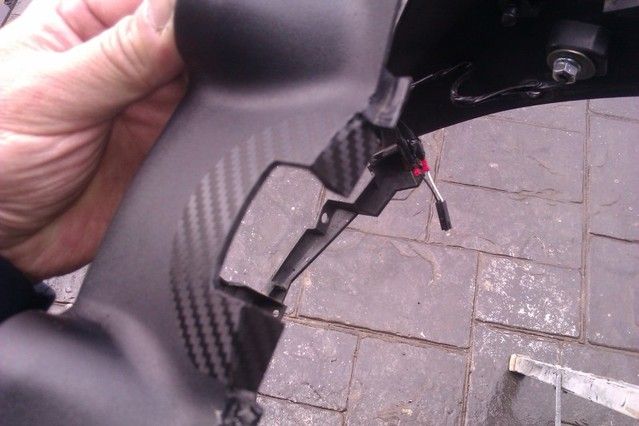
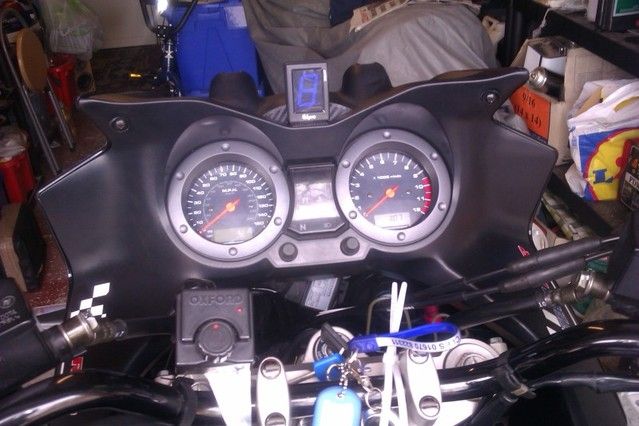
Now moving onto one of many problems I had. Where the new cowl meets the old dash surround, we have a discrepancy. They don't line up and cause a gap like so.
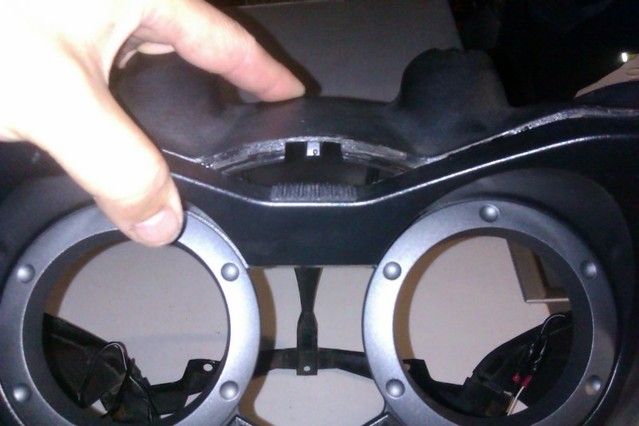
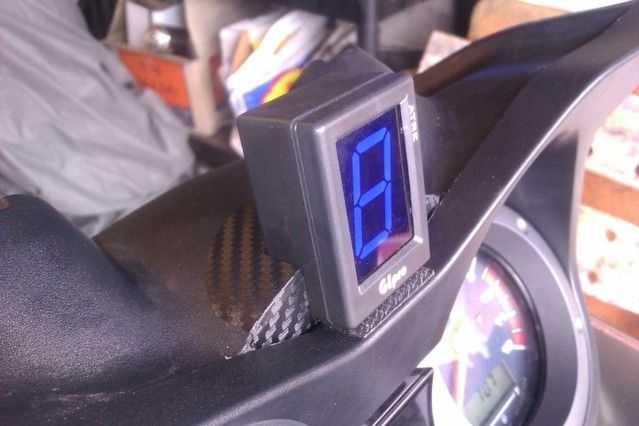
As I have a GiPro gear indicator, I decided to blend these 2 surfaces using that as a centre piece. To do this I started by removing the necessary parts, cut a rectangle to allow the indicator to sit into the top and then fabricate filler pieces to block off any gap. The final pic show the are now covered in a piece of carbon vinyl just to finish it off.

Onto the next problem.....
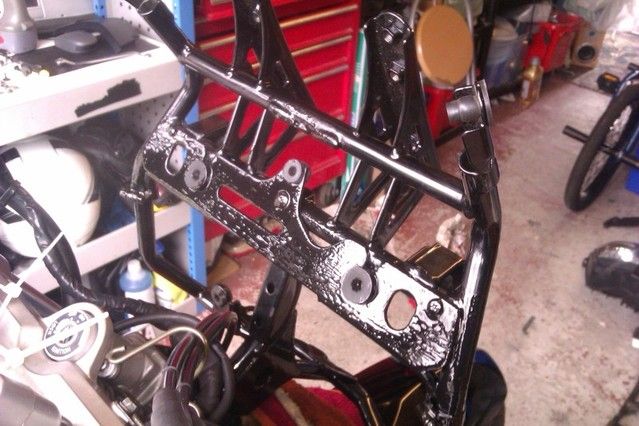
After a dry fit of the cowl, headlight, clocks and clock surround, I discovered that the clock mount plate I had relocated was not lined up true, and that it was probably impossible to due without major measuring, cutting and welding. Also there were clearance issue with some of the new frame work. To correct this, I ended up doing 2 thing, cutting away at the new frame, parts which werent needed, and also seriously modifying the rear & top corners of the clocks. The carbon wrap you see are not for cosmetic reasons. After cutting away the top corners of the gauges when they were dismantled, I used the vinyl to block off the area, and from the inside, I used more plastic powder and superglue to create a reshaped area. In the end I didn't even attach the clock onto the frame, instead I attach the clocks to the rear of the clock surround. I simple couldn't get the frame, clocks and then clock surround to line up.
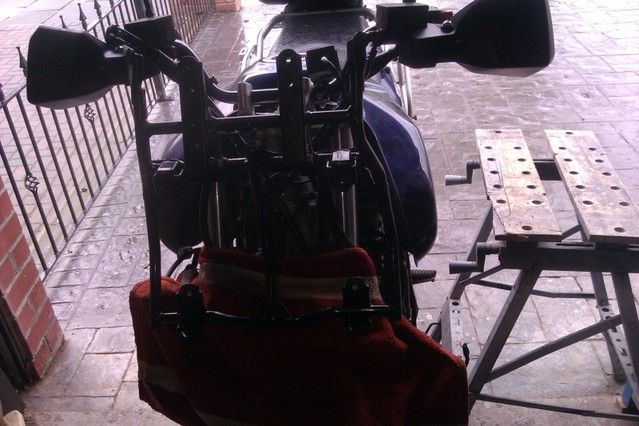
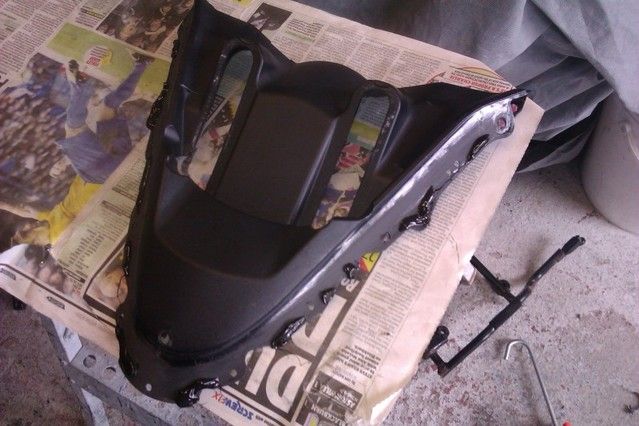
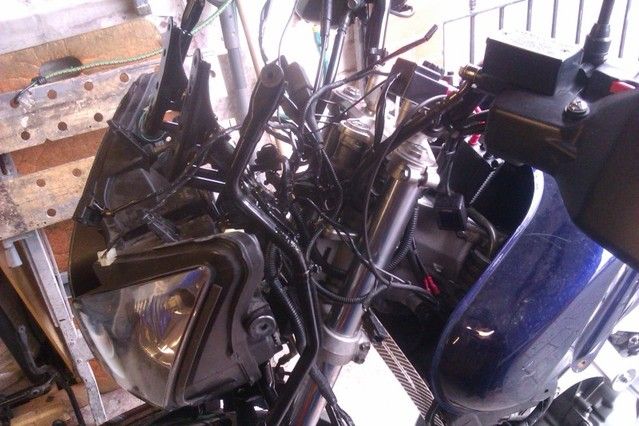
Once I had the clock situation sorted, I could then reassemble the front end. Heres a few pictures leading upto completion.
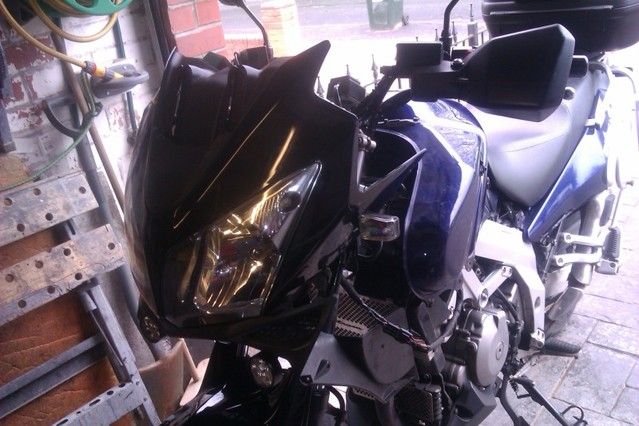
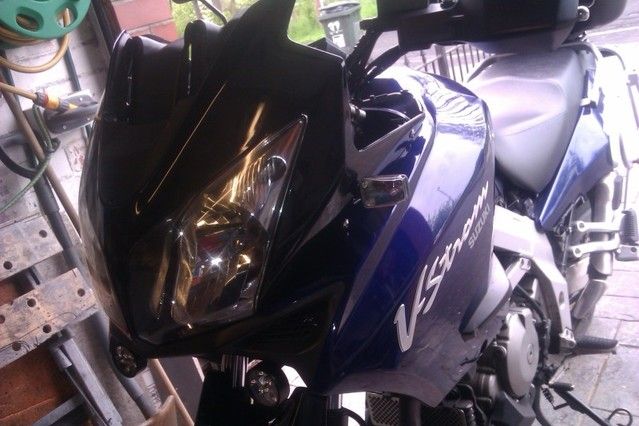
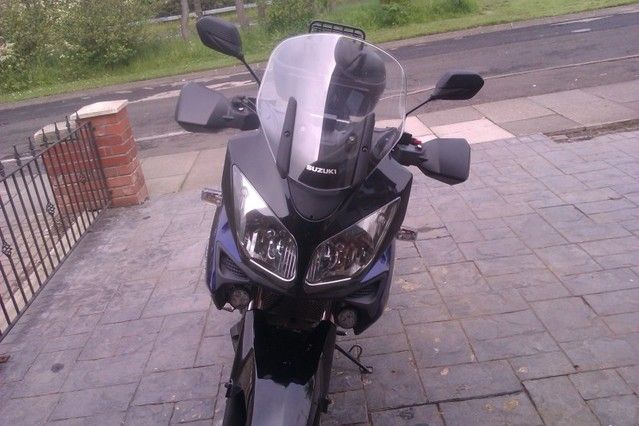
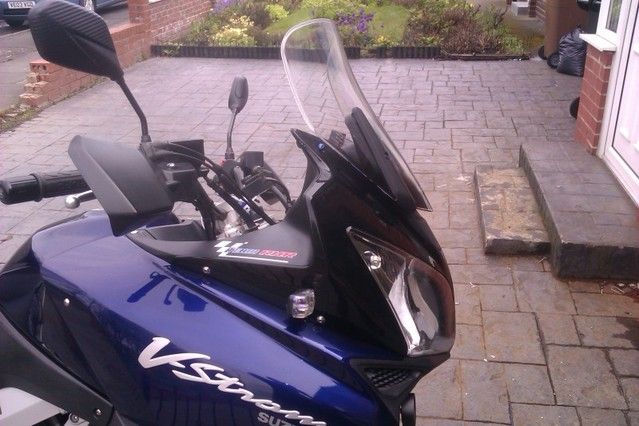
I've since fitted a MRA Vario Touring Screen with Madstad Brackets, ill take some pics eventually and put them up into my blog thread. If there's anything that I've shown you in this conversion, its that its not for the faint hearted. This is major surgery, but I reckon it paid off, the bike looks much better now. You blokes who already have K4 onwards don't know how lucky you are.
