Summary: A detailed description of how to replace the rear spring on a DL1000. This particular example was using a Hyperpro spring, but other types would follow the same process.
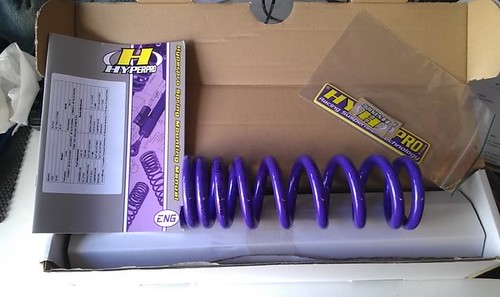
The original post was made by Kevshek and can be found here (See section 16).This is the Hyperpro replacement spring, it comes with a good set of technical instructions showing you how to setup your damper when you’re done.
First off, with the bike up on a centre stand, remove the preload adjuster via the 2x 10mm bolts. Be careful of the cheesy bolts, may pay you to squirt the rear of the bolts/adjuster with some WD40 prior to undoing them. Then unclip the rubber hose from the retainer.

Next, the 2x 17mm nuts holding the lower dog bone links need to be removed. The bolt head on the left side of the bike will require a 14mm spanner to stop them from spinning, while you undo the 17mm nuts.
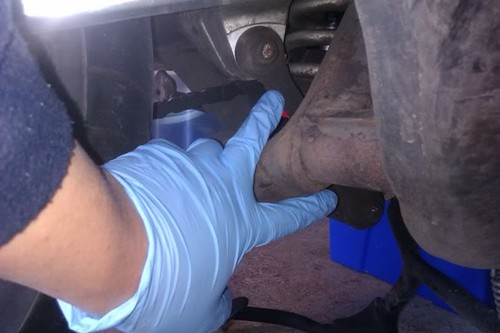
Remove the lower bolt and right side dog bone link, leaving the left side link and top bolt in situ. You won't need to remove it, plus the exhaust stops you from doing it anyway. You may need to lift the rear wheel slightly to take the weight off the links/bolt as you pull it free.

Take the opportunity to remove the sleeve or bearing tube which the bolt sit in, you can clean out the bearings with WD40 and then re grease the bearing. You may also need to rest the rear wheel on some wood, it just keeps the suspension linkages out of the way.
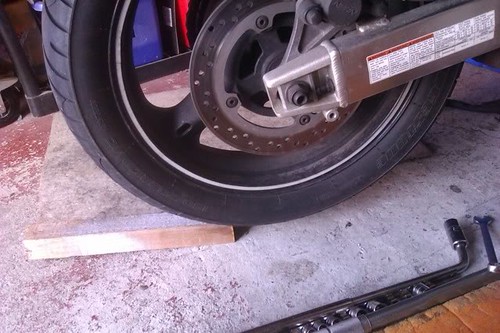
With the right side link out the way, you can remove the lower strut bolt, this is a 14mm nut on the right, and 12mm bolt head on the left side.
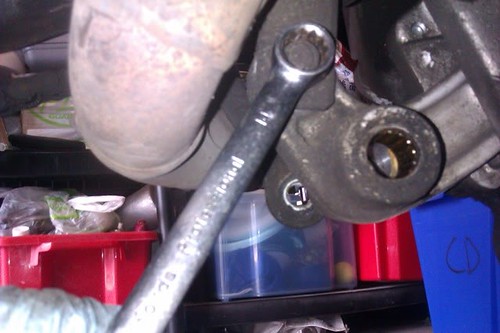
Once the bolt is out, just pull the lower link down and swing it forward out of the way. Again, you can clean the bearing tube, bearing and re-grease while you’re there.
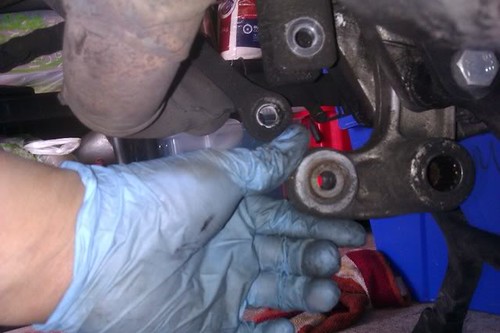
Last step is to remove the top strut bolt, this is like the bottom, 14mm nut, 12mm head.

Finally, the strut can come out, however, mine was a bit tight at the top and needed a bit of encouragement from a pry bar. The top bushing on the strut was a touch too wide so I filed it down a touch so reinstalling it was easier.
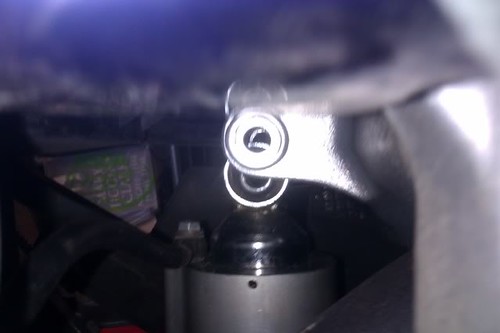
Pass the strut downward and follow it by the preload adjuster and out it comes.
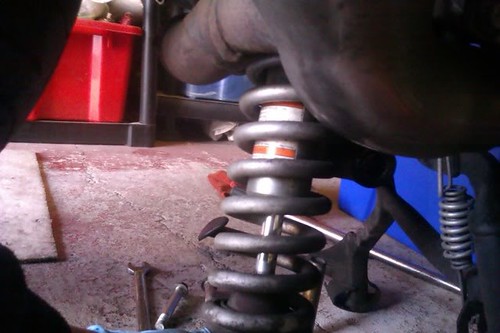
Here’s the standard shock next to the new spring.

In order to swap out the spring, you need something to compress it, I took it to a local garage who had the correct gear to do it, but here’s the jist of it. This small hole houses a tiny allen screw. Mark the orientation of the grub screw against the body of the strut.
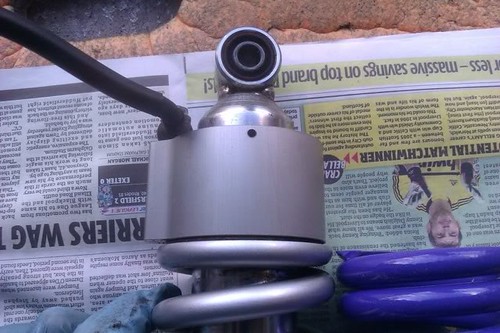
Once the spring is compressed, the preload collar will be free to move/spin (hence why you’ve marked it as above) When the collar is moved down, it exposes a clip which sits in a groove around the strut body, simple remove the clip using a small screw driver, then pass the collar up over and out of the strut. The spring tension can then be released and again removed from the strut.
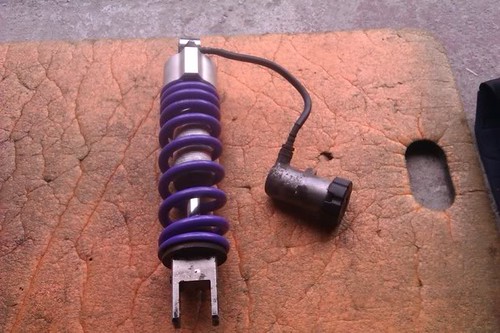 When refitting the new Hyprepro spring, it’s TIGHT COILS to the TOP
The refitting procedure is just the reverse of the above.
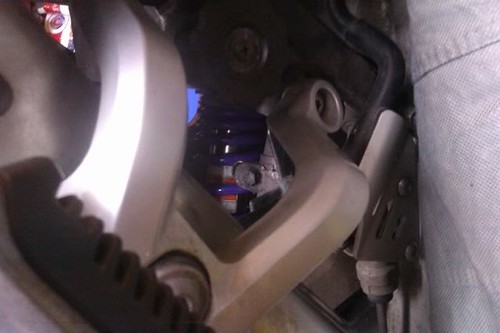 Torque Settings
Top/Bottom Strut Bolts 50Nm
Dog Bone Link Bolts 78Nm